Welcome back for another edition of our blog. We had as many as 15 members at various times of day, pin basting, hand stitching, cutting, joining squares and whatever else needed doing. Two tops for Quilts of Valour were sewn together, two quilt sandwiches were pin basted and one quilt had the binding partially stitched. Moira has taken it home to complete for next month.
The cutting table was kept busy with the ladies working on the pieces for our fall quilt raffle. These will be packaged and ready for members to sew up after next month’s demonstration of the block.


Rae is pressing the seams between the blocks as well as checking that the other seams in the block have been properly pressed.

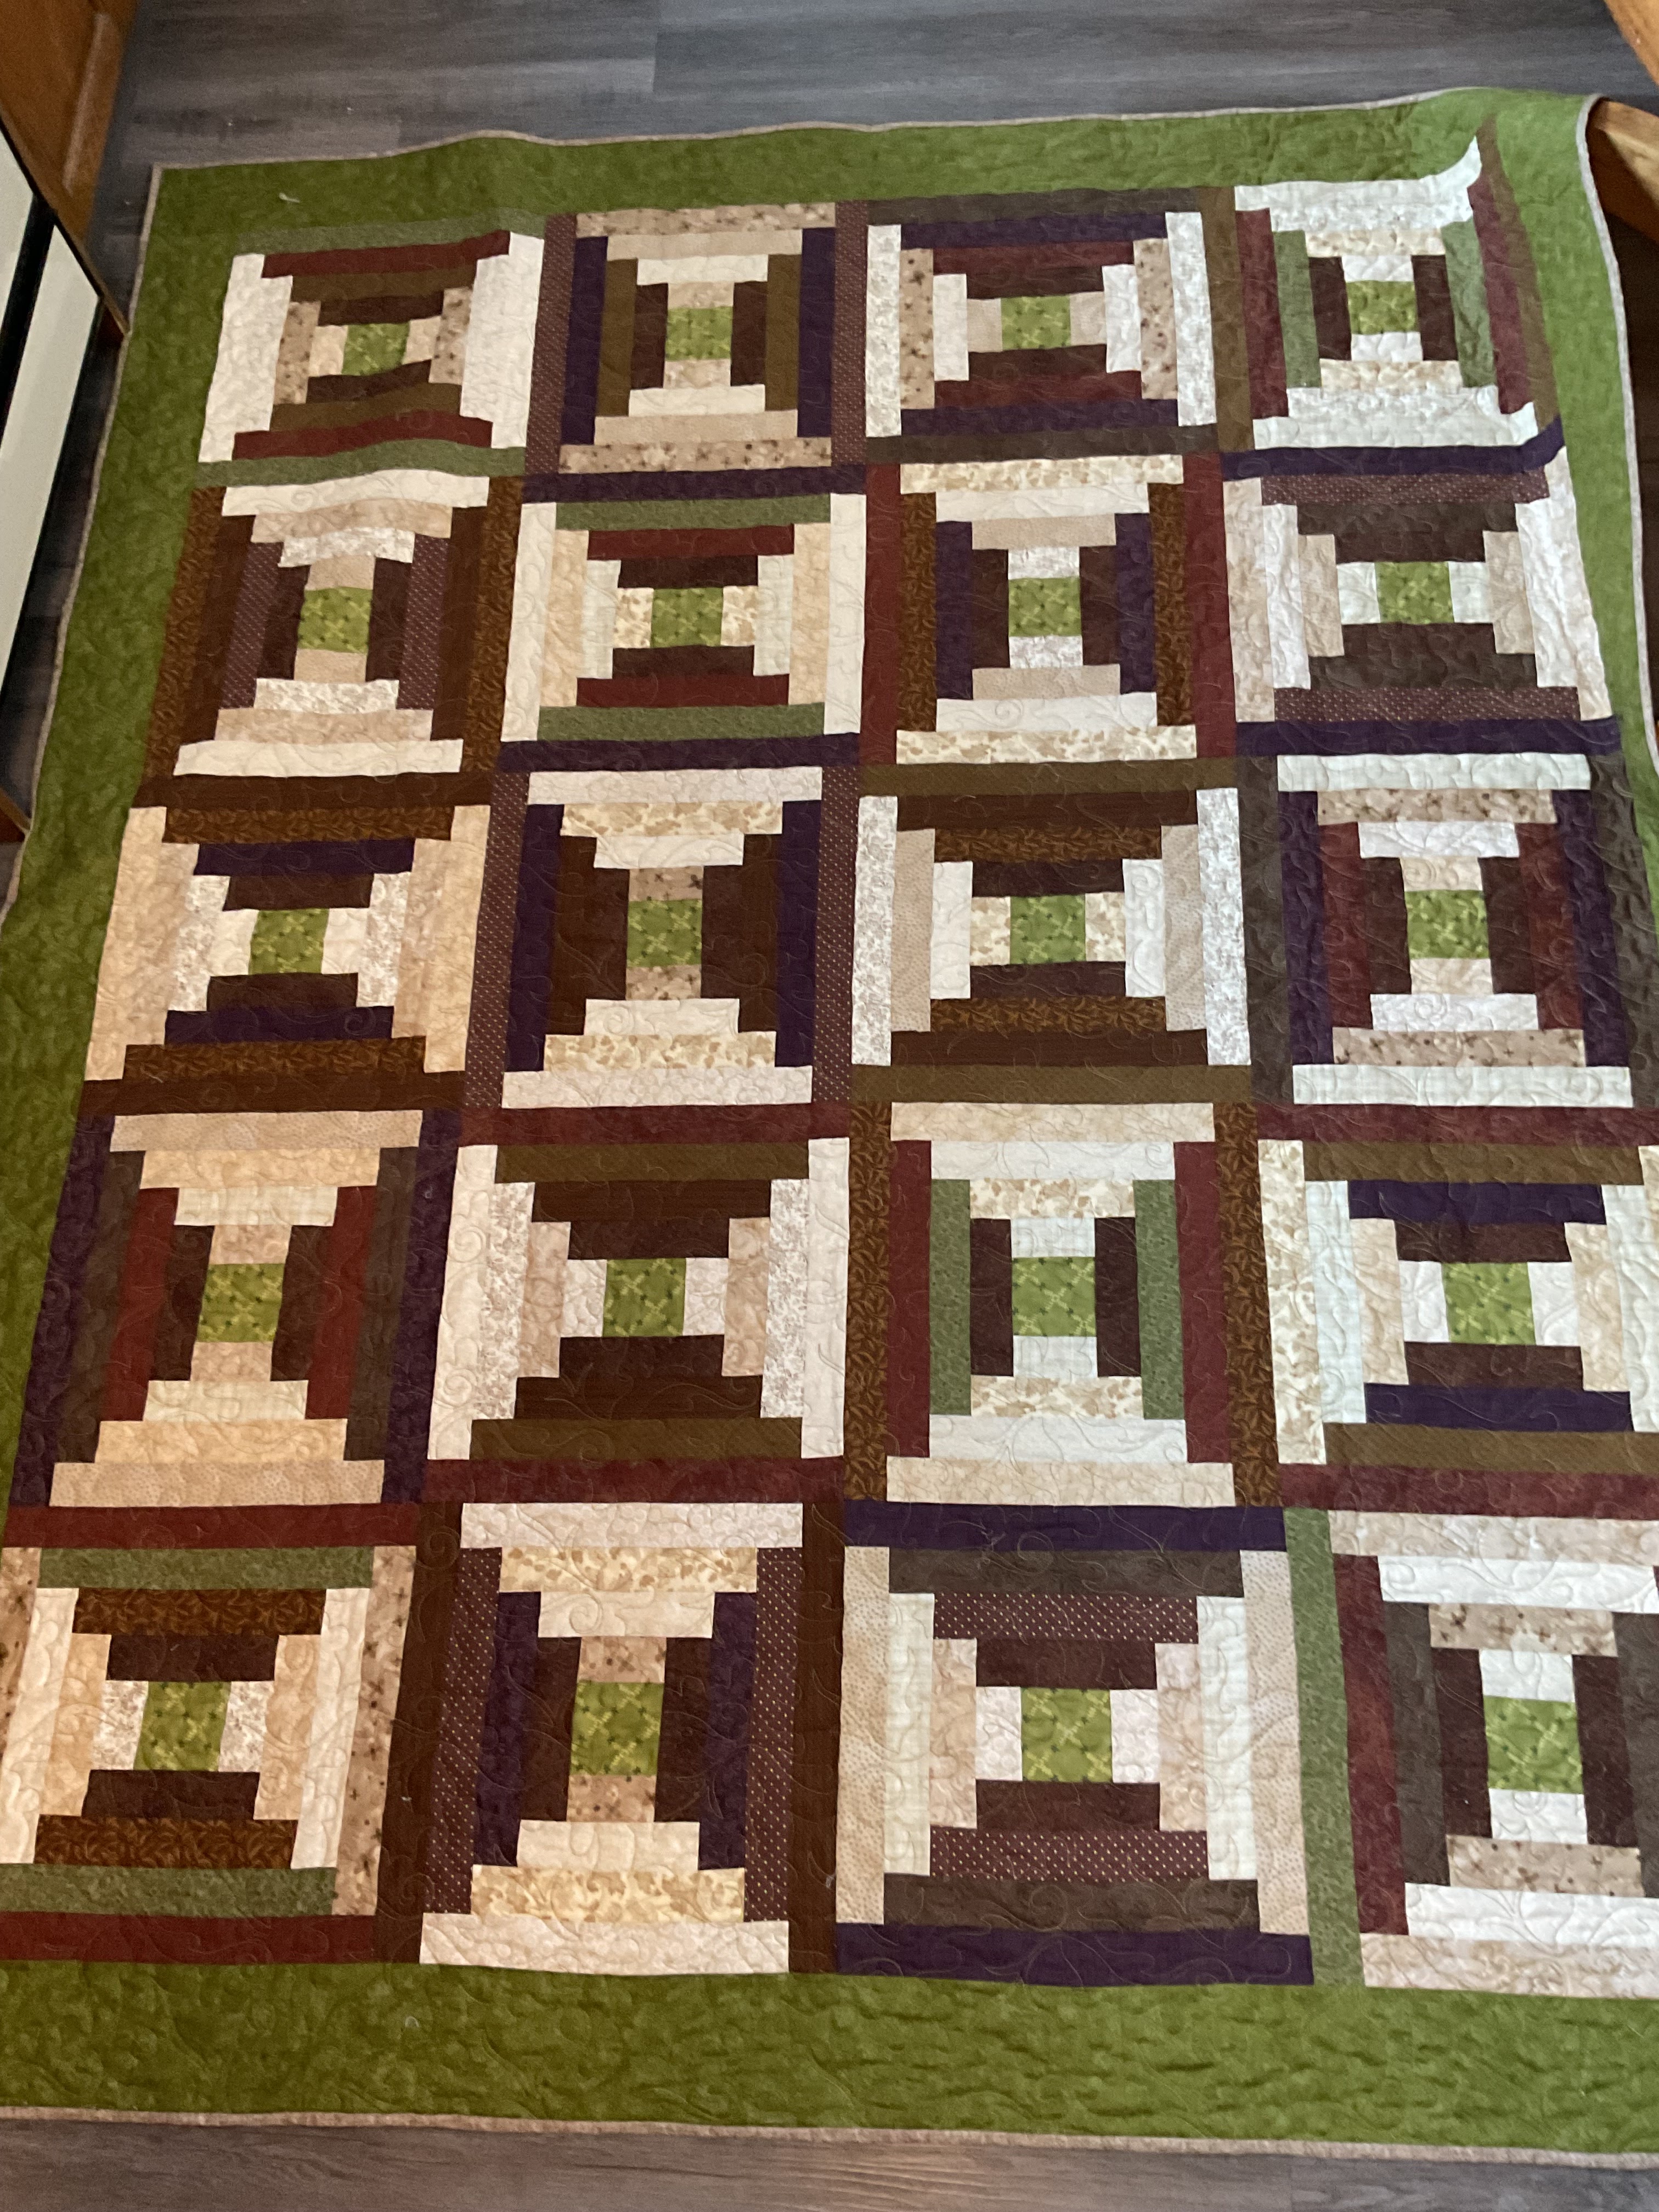
This is how the blocks are laid out ready to be pinned together, then sewn and pressed.


Susan and her group are stretching the backing for a quilt they are going to pin baste. The PVC pipes on the table legs raise the table to a level that prevents the basting group ending up with sore backs.

After the backing is stretched, the batting is laid over it and smoothed down, followed by the quilt top. It is necessary to arrange the top so that horizontal and vertical blocks and lines are straight. Once everything is satisfactory the sandwich is pinned with curved safety pins. The curve in the pins make it easier to push the pins through the fabric without moving anything out of place.

Comfort Quilts:

This quilt top was pieced by Lynn using fabric left over from some of our previous raffle quilts as well as some extra fabric to finish it.

Audrey quilted this lovely little quilt.

This pretty toddler quilt was pieced by Rae then quilted by Sandra. Rae then applied a flange binding. Sandra will be tutoring us on flange binding in tonight’s Quilter’s Corner.


Back in early 2024 I demonstrated the squiggle block asking for bright colours. The members answered the call and we were able to arrange the blocks in a rainbow pattern. Because I did the demonstrating I felt it was only logical that I do the block joining, borders, quilting and binding.

The panel for this quilt was one of several in the stash of Marg H. We sent it to the longarmer for batting, backing and quilting and our hand stitchers applied the binding. This quilt is being donated to a family who lost their home in a house fire.
This quilt top was another gem in Marg H’s stash. It was also completed by the longarmer and hand stitchers to be included in the donation to the house fire victims.
Show and Tell:

First up tonight was Lorna. This is her presidents’ quilt from her term as co-president with Sandra D. Her choice of block was the friendship star for which she supplied the yellow centre with instructions to make it look like a flower. She then added the little leaf blocks and “soil” pieces. She ran into a snag when it came time to add the yellow border. It was supposed to be the same as the flower centres but when she went to find the fabric, it was gone! She searched through her stash and every place she could think of to no avail. What to do? She ended up purchasing new fabric, not a perfect match, but doable. She had the border all sewn on when one day picked up a bag of some hand work she wanted to continue and lo and behold! There was the missing fabric! Of course the substitute border was removed and the right one put on. The end result is a beautiful, bright and cheerful quilt she has titled “Friendship Garden”. It is all hand quilted by the group of quilters (of which Lorna is a member) called Threads of Friendship.

Zoey is one of our new members having joined the guild by taking our learn to quilt classes. This is her first quilt, likely the first of many. She did a beautiful job. Congratulations, Zoey!

Cindy shows her love of vibrant colours in this table runner she put together.

Patty started this throw at one of our retreats. The basic pattern is Pat Sloan’s “Oh My Stars” with her own twist in the smaller stars. She made this from the scraps left from an earlier quilt and did the quilting herself, a beautiful pattern of concentric circles.

Sandra made this bag for her youngest daughter. The fabric is pretty unique with skulls and all associated figures. This was not Sandra’s choice of fabric! This bag would be a perfect size for an airline carry on.

The plus signs in this quilt along with the polka dotted background are formed from just one block. It’s amazing the patterns one can form just by placing a single block in different orientations.


Heather started her strawberry quilt at our October retreat. She used AGF flannel on the back and the lanterns panto to quilt it. When putting on the binding she had difficulty keeping everything in place so glue basted her binding. It worked beautifully. AGF is art gallery fabric.

Audrey recently attended a retreat at which the time was spent exploring and trying new ways of working with fabrics. Fabric weaving was one of the projects and this basket was the end product.


Cathedral windows was another project. You’ll notice that the binding she is going to use is a flange binding.


The final project was quilt as you go. These pieces will be used to make a pouch that will join the pieces with French seams so there will be no raw edges.
Quilter’s Corner:
Sandra D demonstrated how to make a flange binding. This binding is made with two strips of fabric which when folded in half give you your main colour binding with a small matching or contrasting edge that will show as a two colour binding when attached. This type of binding is sewn to the back of the quilt, then folded around to the front and machine stitched down. You can see the result when checking the photos where I have mentioned flange bindings.
Comfort Blocks:
Sandra D and Rae demonstrated two comfort blocks for us tonight. The first is the Plus block which we saw in one of Sandra’s quilts.


Kits of precut fabric were handed out for members to assemble. The blocks will result in a Plus quilt.
Rae had another simple scrap buster block for us to try out.

The pieces are small so can incorporate a lot of those smaller bits and bites left over from other projects. The illustration shows the order in which the pieces should be sewn together to make a 9 1/2” square.

This is a top Rae stitched to show us how the block works. The result is a very scrappy top which you can make completely random or more structured if you so wish.
We concluded our evening with many more ideas churning through our minds! Don’t be afraid to try something new and different!
Happy quilting,
Gladys
No comments:
Post a Comment